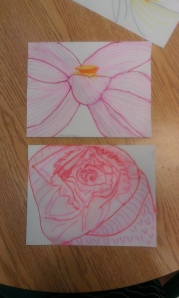
Spring Paper Flowers

This week’s theme is… Spring!
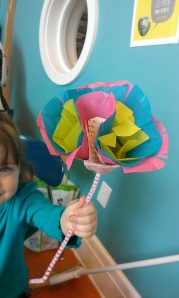
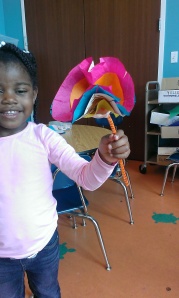
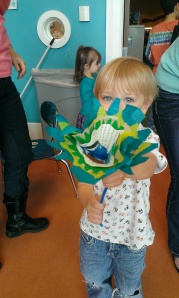
We made awesome flowers from recycled items, with toddlers and preschoolers.

We used:
– Discarded books (circles cutout from pages)
– Egg carton cups
– Pipe cleaners
– Tissue paper (cut in circles)
– Markers

Children were given a book page cut in a the shape of a circle. I asked them to color the page, to draw designs on it. Meanwhile, parents were given a pair of scissors to cut the tissue paper circles in a flower shape. I showed parents, different ways tthey could cut petals. Once they were ready with the flower parts, I gave each child an egg carton cup and a pipe cleaner. Parents and children pierced the pieces of paper on the pipe cleaner and pushed it into the cup. Resulting in a pretty paper flower

IMAG1635 IMAG1640 IMAG1641 IMAG1643


Monochrome

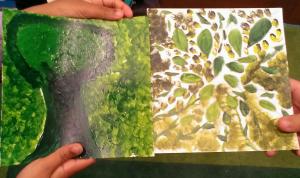
IMAG1519_1Since it’s St. Patrick’s Day this Monday, I decided to talk about monochrome and how to make the color green. Art Club children (8-14 year olds) know that blue and yellow make green, but for the most part, they haven’t experienced making it and the many hues of green. Each participants got a 6″x6″ piece of posterboard and drew a picture on it. Then they learned how to mix blue and yellow and make green; from very dark to very light green. Each made their own green palette and proceeded to paint their image.

Monoprints… again

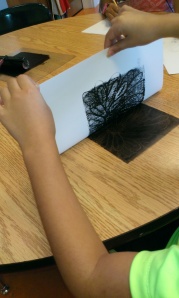
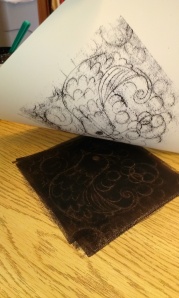
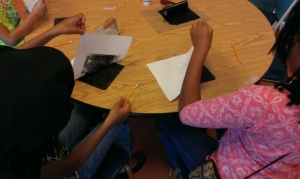
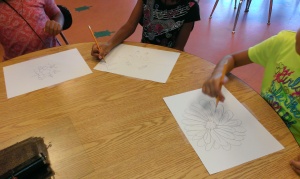
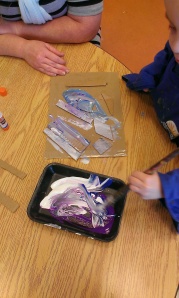
I’m addicted to printmaking and monoprints. I always try to find a way to include some kind of printmaking in to my art class. I introduced the kids in Art Club to a type of monoprint I did at UF during my summer semester. You roll ink on a slab or non-porous table top, place a piece of paper on top (without pressing down!) and draw on it. Where ever the pressure is, the ink will transfer on to your piece of paper. For example, if you us a stamps, it will make a mark on the paper where the ink is.

After they are done drawing, they lift up their paper and see their image. We did this a few months ago and again for Valentine’s Day. These images are from a few months ago when we did it on plain white paper.

monoprint monoprint2 monoprint3 monoprint4

I used Speedball Block Printing ink (waterbase) and a brayer. Rolled ink in front of each kids, place a piece of paper (I used white construction paper) and pencils to draw.


Cityscape / Pattern

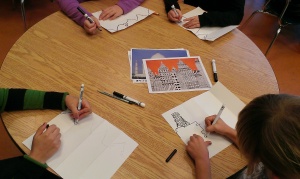
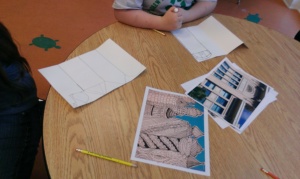
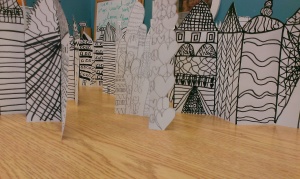
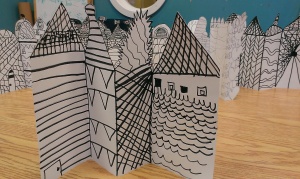
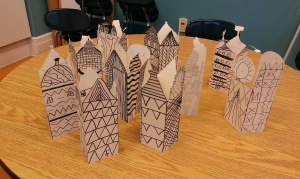
I introduced kids to patterns in architecture. We didn’t really talk about architecture itself; instead we really focused on identifying patterns on the façade of the building. I had printed different photographs of buildings from around the world (Kremlin, Taj Mahal, Sidney Opera House…)  and local as well (old Main Library, City Hall…). We took time to look at the different one, first by identifying the building and where it is. Then, kids took turn to pick a picture and point out one of the patterns.

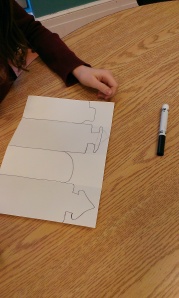
For the project, we used a piece of construction paper (9×12), and black markers. Children folded their piece of paper accordion style, creating 4 sections. In each section they drew a building, first by creating different roofs and then by filling-in each building with different patterns.IMAG1403 IMAG1404 IMAG1405

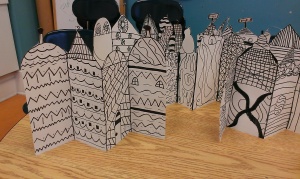
Once their buildings were designed, We cut off the top along the roof line and place them all on a table to create a cityscape.

IMAG1407 IMAG1408 IMAG1410 IMAG1415

I found the idea on Pinterest, through an art teacher’s blog. Their version was flat and I felt it needed volume, that’s why we folded ours first.

Dinosaur Eggs: exploring textures

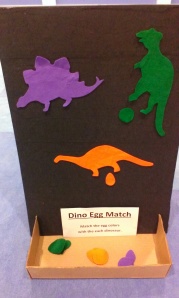
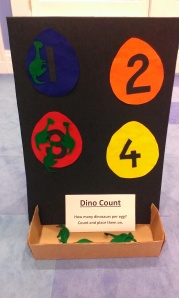
This weekend was all about dinosaurs. Ms. Eve did a dinosaur storytime on Friday and Saturday. She had this great catchy song playing when children and parents came in the theatre, called  “We are the Dinosaurs” by Laurie Berkner. She also had a life-size foot print of a brontosaurus for kids to step on. I made a felt matching game and counting game based on dinosaurs. Children and parents interacted together before storytime started, by matching the eggs and counting the baby dinosaurs.

dino felt dino felt2

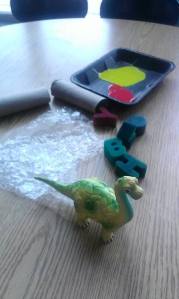
In art, we mainly had toddlers and preschoolers, so I kept it simple. I displayed found objects on the table, a toy dinosaur and a tray of paint.

dino egg1

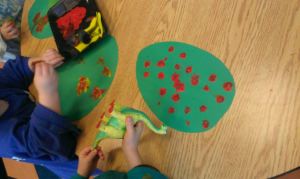
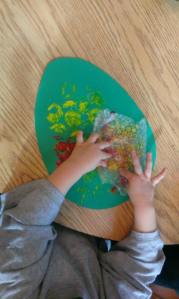
I gave each one a piece of construction paper cut in the shape of an egg and asked them to paint it by stomping the dinosaur’s feet in the paint and onto their egg. Same with the cardboard rool, foamie letters and bubble wrap. They had a blast!

dino egg3 dino egg2 dino egg

At the Crossroad of Classics

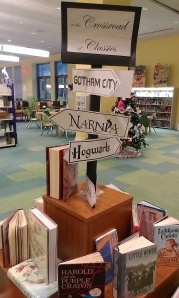
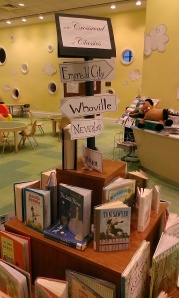
I was looking for a cool book display and came across a fun idea on Pinterest; it was a post with name of fictional cities on it. We have never featured classic literature before. We usually make seasonal displays or displays of popular books. I made my own version of what I saw to fit our needs. I chose famous fictional cities from picture books (Whoville, Busytown), graphic novel (Gotham City) and children’s novels like Emerald City, Hogwarts… Here’s the result:
crossroad crossroad2

Boxes: endless fun!

We all know that children would prefer to play with the boxes than the toys they get. Since Christmas is coming up, this is a good reminder to keep it simple.

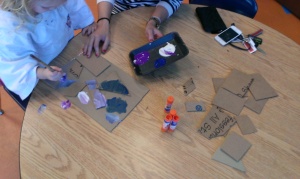
For Toddler Music & Movement and Toddler Art, we explored the world of BOXES. Toddlers started by making art by creating a collage with shapes cut from old boxes. Once the toddlers were done, I gave them paint and they painted  their abstract bas-relief collage. It was interesting to see them use the different colors to paint each shape they had glued. As the painting progressed more mixing of the colors happened.

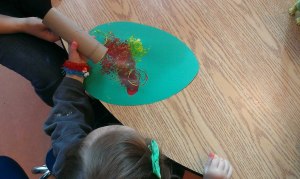
boxes1 boxes2There are so many ways boxes can be used in art projects. You can use an open box and make a marble roll in paint or roll up the cardboard and use it to stamp a rose-like on a paper.

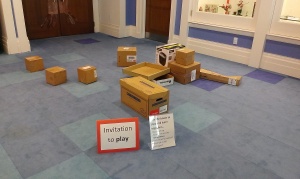
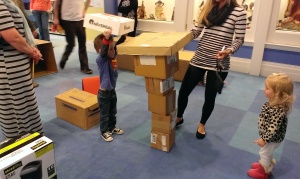
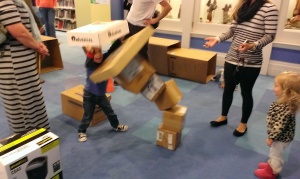
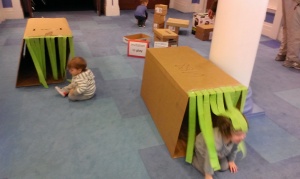
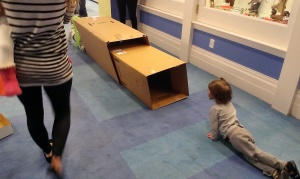
Mr. Josh and I made tunnels with big boxes and streamers (carwash effect) for toddlers to go through to get in the theatre for Toddler Music & Movement. That was an awesome transition into his part of the hour on boxes. He had different kinds of boxes (plastic, wood and cardboard) as well as different sizes. When Toddler Music and Movement was done, toddlers got to continue their exploration of boxes. We had setup and “invitation to play” right outside the theatre with empty boxes that could be use to stack up, line up… and more tunnel boxes! Toddlers had a blast!
boxesplay1 boxesplay2 boxesplay3 boxesplay4 boxesplay5

This was our first time using the theme of boxes. I came across the idea on Storytime Katie’s webpage. We adapted it to fit our needs, but it was a great resource.

Turkeys

Every year we paint turkeys for Thanksgiving. It’s always a fun project and I’ve always been pleased with the results.

I can’t stand the turkey hands! So, I came up with a project that would allow kids to make turkeys on their own, that would look unique.
I call it: “Crazy Turkeys” or “a Turkey Mess”.
It’s pretty easy… I give the kids brown paint and feathers, a beak, a waddle and googely eyes (of course!). I have images of turkeys on the wall and we talk about the shape of the turkey body, neck (long or short?) and head. The younger ones (3 and under) usually make a “turkey mess”. which consists of a blob of brown paint with feathers on top and the beak, waddle and eyes spread a little bit everywhere. It’s funny and kids love it!

Preschoolers and older kids usually will take their time and get the shape right and paint a brown turkey, use the feathers for wings of the tail, place the beak, waddle and eyes on the head… sometimes even add extra things around their turkey.

Today was the first time, that even though I mentioned how the turkeys looked, kids painted their hands and stamped it on their paper. In both classes, Toddler Art & Family Art! I was not expecting that! Or the fact that the kids wanted to do it, not the parents. It seems like they learn it in school (or daycare) and they automatically go for that easy symbol instead of trying their own. Some of the kids saw they others do their hand print and by the end of the class, more than half the class had stamped turkeys on their paper or asked for a different piece of paper.

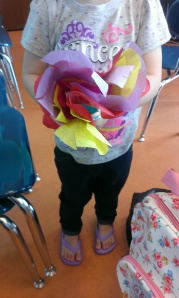
Georgia O’Keeffe Flower Close-Up

Only girls showed up for our Georgia O’Keeffe’s art lesson. Which in a way was pretty cool.INTERNATIONAL O'KEEFFE

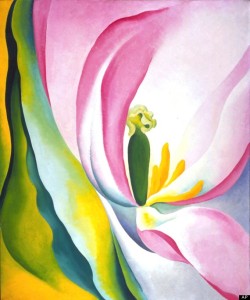
We looked at different images from Georgia O’Keeffe’s flowers and talked about her work in New Mexico and how she found her own style. I was hoping to get fresh flowers and try to do this project by having the kids look at the flowers closely. But, it was too complicated and I was afraid they would have a harder time to render a closeup from 3D to 2D. Now, I wish I could have done both!
There’s a great lesson plan on the National Gallery of Art if you need inspiration or do this activity differently.

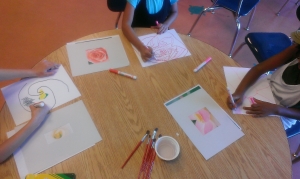
Instead of having the real flowers, I printed different pictures of flowers. I cut-out small squares in the middle of a cardstock paper to create a frame that children would use to focus their attention to a detail of the flower. They each chose a flower and place their frame on top, choosing a specific spot they wanted to draw. Using washable markers, they drew that detail close-up of the flower on a piece of cardstcok, posterboard or construction paper.
 

okeefe2

They used water to create a watercolor effect to their drawing. The ink from the washable marker “bleeds” when wet. This would be a great effect on watercolor paper, which I didn’t have, but I think it’s worth experimenting.

okeefe4